He looks like a muppet.

(Bwhahaha. I caught him mid sneeze on this one.)
To be fair, I didn't start out with a dog.
He came with the then future husband when he moved from California to Georgia.
I still avow that I am NOT a dog person. I am a THIS dog person.
Ahem.
Anyway....he's getting on in years and gets a bit stiff at times. Our awesome vet does acupuncture. It's helped minimize his pain meds, but he really appreciates a soft bed.
The bed in the tutorial is mostly for the day.
At night he sleeps with us and steals the quilt. He has dog stairs and chairs he likes to snooze on, but sometimes stairs aren't his favorite.
Hence the need for a new dog bed.
I picked a bed pillow for its combo of support and smooshiness. I decided on a fleece cover for added softness and because, well, I can find really cool remnants at a warehouse for dirt cheap. So, I get to increase the geek factor of our home with Doctor Who gear and a bonus of cheap.
A quick math note here. I made the top a bit smaller lengthwise than my pillow on purpose. I wanted the pillow to plump up the case. Also, fleece is a bit stretchy. My method of construction tries to take that into account...hence the not perfectly exact measurements. On the plus size, that makes any sewing mistakes/fudging even more forgiving.
Supplies:
Pillow (mine measured about 31"x18"x4")
24" separating sport zipper. (I did this just for durability and ease of finding, I don't need/want the zipper to actually separate.)
Approximately 1 yard of fleece with a WOF of 60"
Zipper foot
Regular foot
Pins
Ruler
Prep:
Cut one WOFx19" strip. Subcut it into 2 30"x19" rectangles.
Cut 2 WOFx5.5" strips. Just cut the selvedge edges off.
Cut 1 WOFx3.75" strip. Subcut that into 2 strips 3.75"x28".
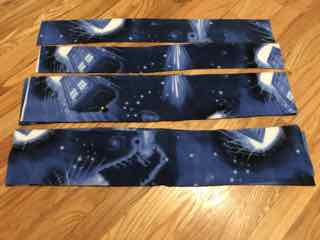
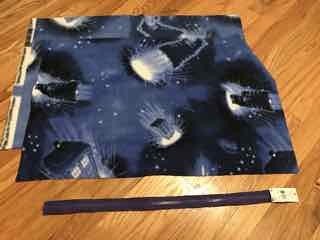
Commence Assembly!
1. Sew the 5.5" strips together into one long strip.
2. Using a 1/2" seam allowance, start about 3 inches from the corner on a long side of the top rectangle. Sew the long strip to the corner. Stop 1/2" from the edge with the needle down. Turn the fabric and sew the next side to 1/2" of the corner. Repeat until you have turned all four corners. Sew an additional 2" on that last long side.
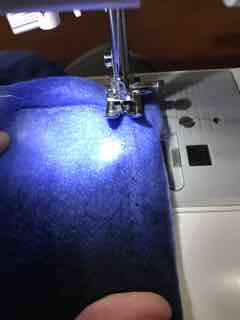
3. Use one 3.75" strip and the zipper. I extended the piece of fleece on the top and bottom of the zipper. It makes life easier later. Sew the right side of the fabric to the zipper (lining up the edges). Stop 1/2" before the zipper end. Backstitch. Top stitch.
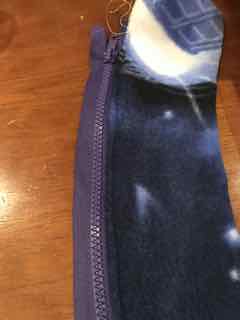
Repeat with the other 3.75" strip to the other side of the zipper. Don't worry if your ends don't match perfectly. You are going to trim soon.
Pinch the ends together of the non pull end. Sew the edges together with a 1/2" seam.
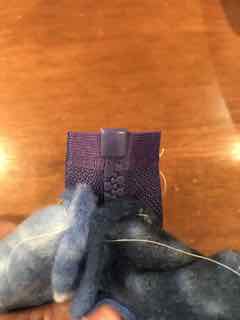
4. Take the zipper section and trim the ends to be even.
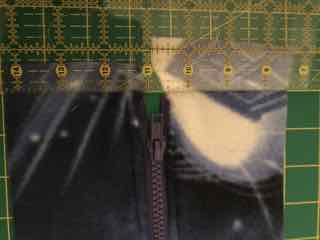
Trim the strip so it is 5.5" wide. (I lined the zipper middle up with the 2.75" mark on my ruler.) Take your zipper section back to the pieces you have previously sewn.
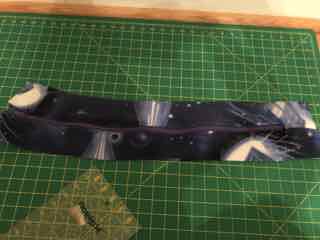
5. Sew the zipper pull end to the shorter end of the strip you already sewed on to the top. (I used an almost inch seam allowance so I could get closer to the end of the zipper pull. You can trim or not.)
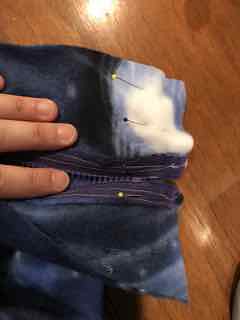
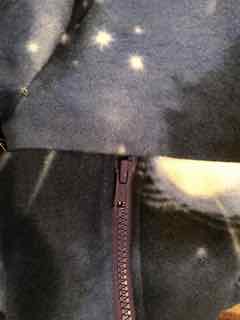
6. Sew the zipper section to the top rectangle. Stop about 1/4 from the end of that section. Lay the zipper section over the remaining strip end. You're looking to create a 1/2" overlap. Trim accordingly. Sew the end of the zipper section to the end of the strip you just trimmed using a 1/2" seam allowance. Finish sewing the strip to the top rectangle.
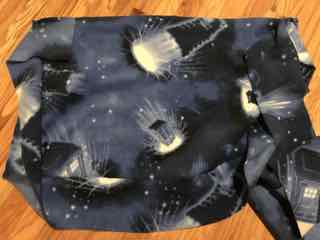
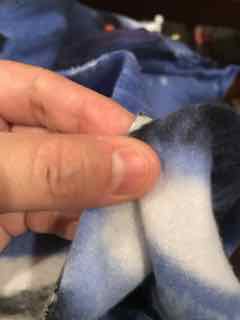
7. Grab your pins. Pinch the corners of the strips. Match the pinched bit to the corner of the remaining large rectangle.
Repeat for each of the remaining corners. Then go back and pin the strip to the rectangle. Sew all the way around using a 1/2" seam allowance. Note: I did NOT open the zipper. Because the fleece is easy to manipulate, I had no issues unzipping even if it was sewn.

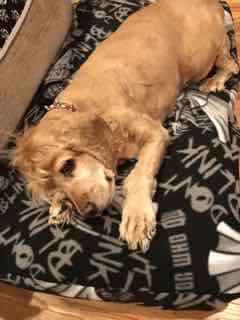
Cozy cute. Now we just need to get a dog again so that I can make this.
ReplyDeleteSo sweet, great tutorial Ella!
ReplyDelete