Welcome to the tutorial week of the Finish-A-Long!
If you haven't already, check out the other posts by the lovely ladies of the Finish-A-Long!
- March 27 - Abigail of Cut & Alter
- March 28 - Sandra of Sew of Course
- March 29 - Judith of Just Jude Designs
- March 30 - Marci of Marci Girl Designs
- March 31 - Me!!!!!
I decided my tutorial would make use of the many charm squares I have *ahem* hoarded over the years.
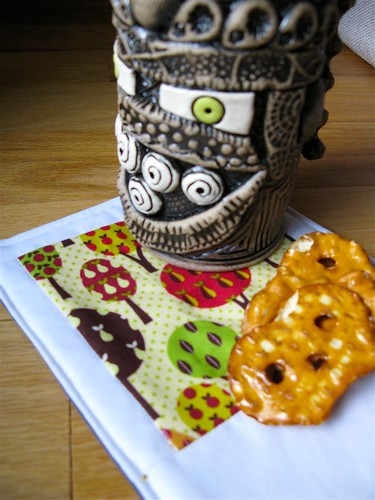
My Tutorial: A Polaroid Mug Rug/Snack Mat
I've liked the Polaroid blocks I've seen up and about the internet. (I know there was a swap of them a while back.) I don't have a plan to make a quilt of them immediately, but I have some cool charm squares from a fussy cut charm swap.
I wanted to use a couple of them to make something I could use every day.
Mug rug/snack mat it is!
I took the tutorial on making the tiny versions and amped it up for a bigger size. (Aside: Karen over at Capitola Quilter is AWESOME, and I have been lucky enough to meet her in real life.)
For each mug rug, I used a 5 in charm square, 2 strips of white Kona measuring 2 in by 5 in, 1 strip of white Kona measuring 2 in by 8 in, and 1 strip of Kona measuring 3 in by 8 in. I also used a piece of batting, approximately 9 in by 10 in. For the back, I used some Kona charcoal, a piece about 8.5 by 7 in.
First sew the side strips on.
Then sew the top and bottom strips on. (If at this point, you want to make a GIANT polaroid block, just add some darker sashing to make the polaroid "pop" out.)
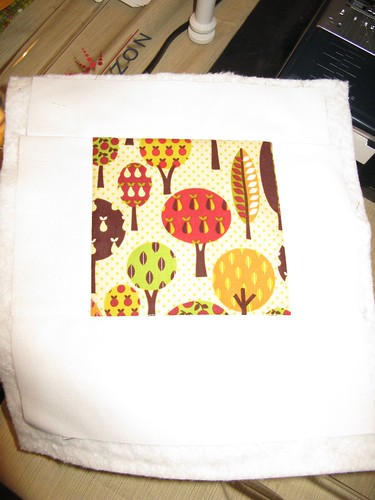
I attached the batting by sewing around the "picture" part of the Polaroid.
I sewed the back on (by placing right sides together and sewing around it, leaving a 2 in opening for turning) with a 1/2 in seam. Hint: Don't do what I did and leave the opening on a corner. Your corners will look better if you leave the 2 in opening in the top or the bottom middle instead.
Clip the corners, turn inside out, and press.
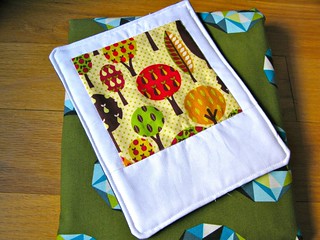
Then sew a 1/8" topstitch and you're done!
I hope you liked the tutorial! I will probably make a mondo polaroid block quilt at some point, since I can't bear to have all my 5" fussy cut charms live in a box forever. *cough* hoarder *cough*
Don't forget to link up your finishes to the Finish-A-Long here and start drafting your next quarter's list!


Lovely way to use a precious fussy cut charm!
ReplyDeleteGreat tutorial, I'm all for easy ways to use up those charms, and with this you can look at them often, too!
ReplyDeleteToo clever! Very cute Ella, great job!
ReplyDeleteoh yes thats nice :-)
ReplyDeleteThank you for sharing and for hosting the FAL!
Thankyou for being a Host of the FAL... I have loved reading the tutorials.
ReplyDelete